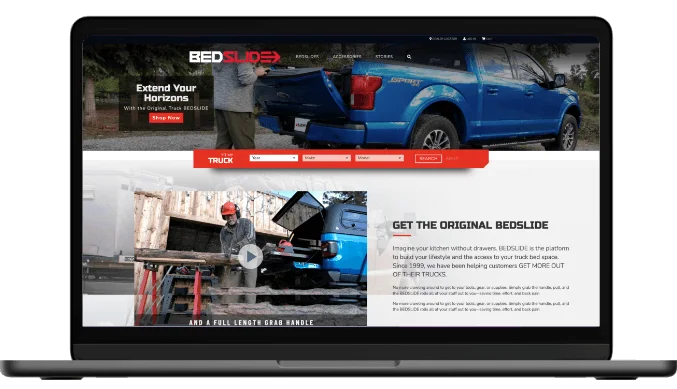
The Headless Architecture for High-Scale Automotive Commerce
Built for performance and flexibility. Our API-first, headless foundation empowers complex automotive businesses to scale without limits, integrating seamlessly with your ERP, PIM, and warehouse systems.
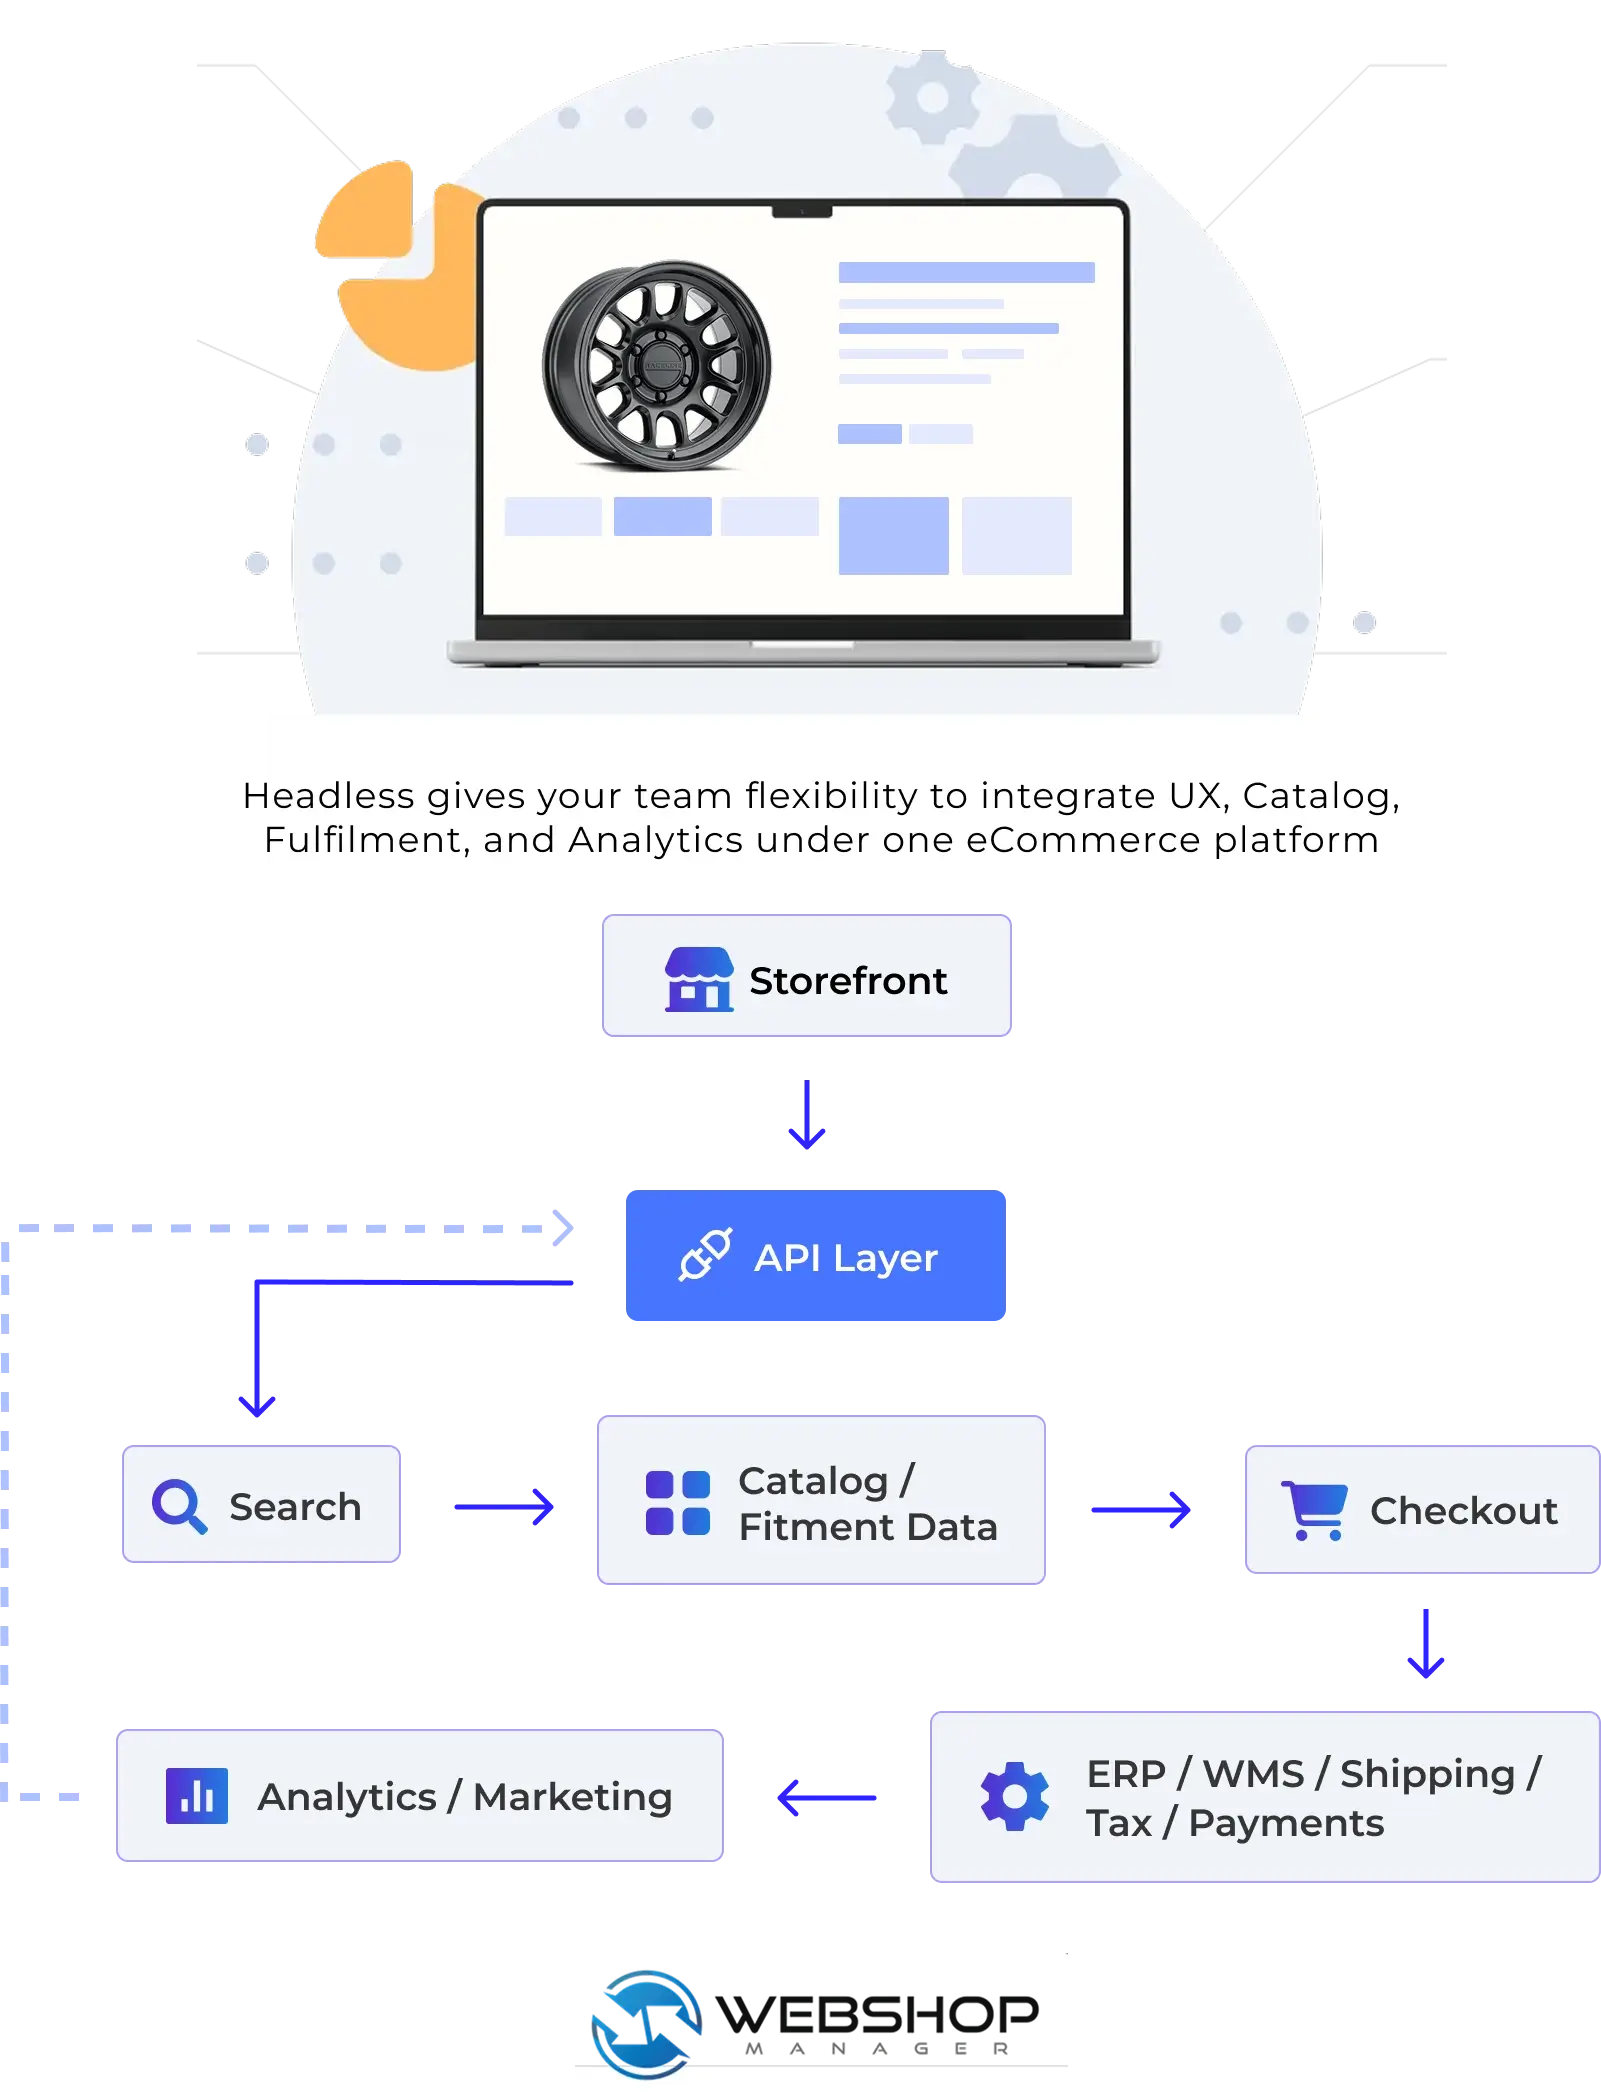
Storefront(s) → API Layer → Catalog/Fitment Data → Search → Checkout → ERP/WMS/Shipping/Tax/Payments → Analytics/Marketing
Platform Map: How Headless Commerce Works in the Aftermarket
WSM separates storefront experience from the commerce engine—so you can move faster on UX and SEO without risking the systems that run your business. The API layer connects storefronts to fitment and catalog data, search, checkout, and your operational stack.
- Improve UX and SEO without replatforming core commerce
- Keep fitment logic and catalog data consistent across channels
- Connect ERP/WMS, shipping, tax, and payments through clean APIs
- Reduce wrong orders with vehicle-aware discovery (YMM + PartsLogic)
- Scale to B2B, B2C, or hybrid workflows without duct-tape
Purpose-Built for Aftermarket Complexity
Generic platforms were designed for simple retail catalogs. The aftermarket is different: customers need confidence that a part fits their exact vehicle, catalogs are massive and attribute-heavy, and operations depend on ERP, inventory, pricing rules, and fulfillment workflows that can’t be duct-taped together.
Web Shop Manager is engineered for these realities—so you can scale without platform lock-in or constant replatforming.
- Manufacturers, distributors, and brands managing complex product catalogs and multi-channel requirements
- Retailers selling fitment-based parts, kits, and bundles where compatibility drives conversion
- Teams that need speed + SEO + integration freedom without sacrificing operational reliability
Integrates Cleanly With the Systems You Already Use
WSM is designed to slot into real aftermarket operations—connecting commerce, product data, and workflows without forcing your business into rigid or proprietary processes. Use the integrations you prefer today, and keep the freedom to evolve tomorrow.
Open API Access
API-first access for products, orders, customers, and operational workflows—connect custom systems without modifying core platform logic.
App & Service Connections
Connect third-party apps and services as part of a broader commerce ecosystem—marketing, analytics, reviews, and automation.
Shipping & Warehouse Systems
Sync inventory and fulfillment workflows across carriers, shipping tools, warehouses, and 3PLs to reduce delays and oversells.
ERP & Back-Office Integration
Keep pricing, inventory, accounting, and order operations aligned with the systems that run your business.
Tax & Compliance Services
Support accurate tax calculation and compliance using trusted tax automation providers.
Payment & Transaction Services
Support multiple payment providers and transaction workflows—avoid processor lock-in and preserve flexibility.
Data, Intelligence, and Operational Leverage
In automotive ecommerce, success depends on data quality, structure, and accessibility.
In the aftermarket, your competitive edge is data—how clean it is, how structured it is, and how effectively it powers discovery, fitment confidence, and operations. WSM treats product, fitment, and operational data as first-class concerns, not just transactions flowing through checkout.
- Structured catalog + fitment logic that remains independent of storefront presentation (future-proof architecture)
- Support for complex product relationships including kits, bundles, and shared components driven by data logic
- AI-assisted workflows to augment product data, SEO, and merchandising (work faster, publish cleaner)
- Operational visibility in real time so teams can answer fitment questions, find alternatives, and resolve issues faster
- A foundation designed to evolve as data models, channels, and business needs change
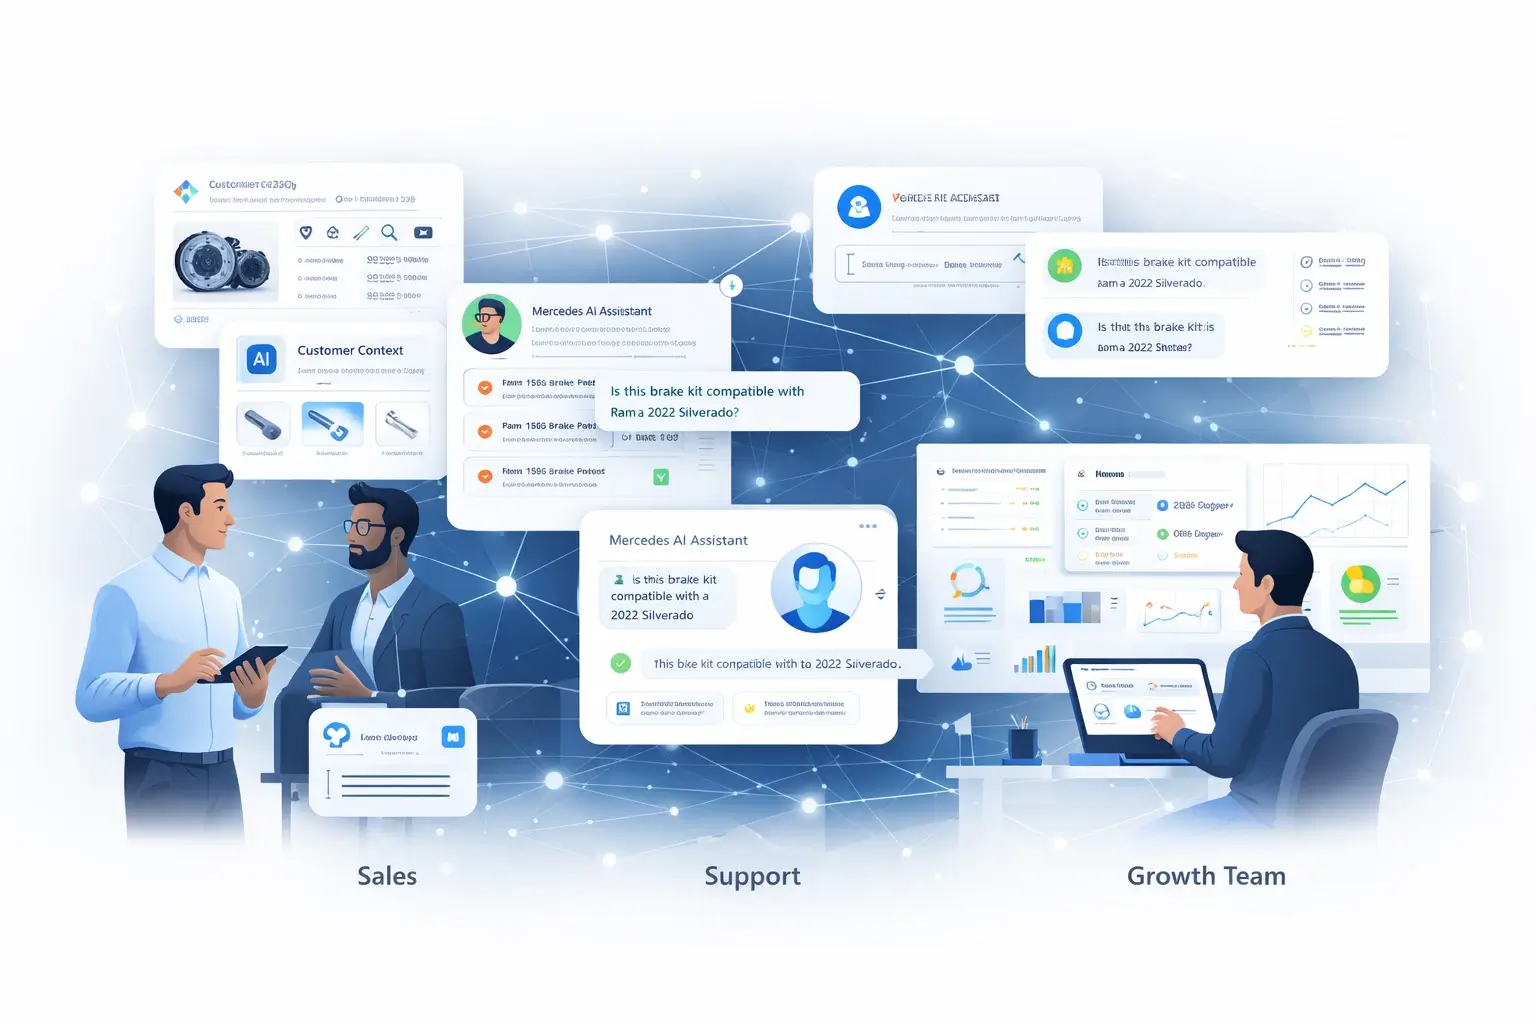
Enable Sales, Support, and Growth Teams
Automotive ecommerce doesn’t end at the storefront.
Aftermarket eCommerce doesn’t end at the storefront. Buying decisions often involve fitment questions, sales conversations, repeat purchasing patterns, and post-sale support. WSM is designed to support the full buying journey—not just the transaction.
- Give sales and support teams fast access to compatibility and product intelligence during real customer interactions
- Deliver experiences that adapt to vehicle context, product relationships, and purchase history across B2B and B2C workflows
- Support repeat purchasing, account-based pricing, and long-term customer value (especially for wholesale and loyal enthusiasts)
- Mercedes, WSM’s AI agent, helps accelerate product discovery and fitment Q&A by surfacing relevant data faster
Built to Evolve With Your Business
Aftermarket eCommerce platforms rarely fail on day one—they fail when fitment rules get more complex, catalogs expand, channels multiply, integration needs grow, and SEO requirements change. Web Shop Manager is designed to evolve alongside your business so you can scale without constant replatforming.
Aftermarket Data Model
Fitment, attributes, kits, bundles—built in.
Operational Fit
ERP, pricing, inventory, fulfillment—cleanly connected.
Headless + API-First
Iterate UX fast without breaking core systems.
Sales + Support
Answer fitment questions fast. Reduce escalations.
Performance + SEO
Speed + structure that improves visibility and conversion.
Native AI Layer
Accelerate data, merch, and customer workflows.
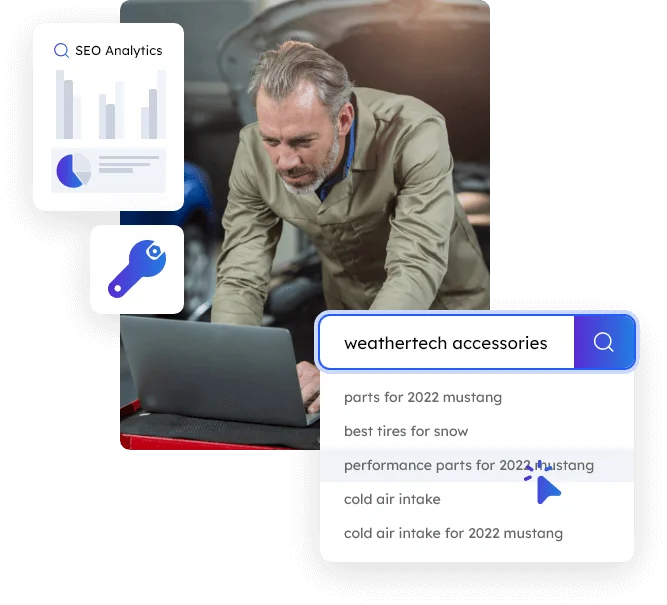
Search Built for Aftermarket Complexity
In automotive ecommerce, search isn’t about keywords — it’s about correctness.
Customers need to find parts that fit their exact vehicle, understand compatibility, and navigate complex product relationships without trial and error. PartsLogic is designed for that level of complexity.
- Vehicle-aware search that understands Year / Make / Model / Engine context
- Fitment-driven results that help increase conversion and reduce wrong orders/returns
- Supports kits, bundles, and shared components within search results
- Fast, relevant results across large catalogs without sacrificing accuracy
- Search intelligence that improves as product and fitment data evolves
Built for Every Aftermarket Genre and Business Model
Aftermarket eCommerce isn’t one store type. WSM supports fitment-first and data-heavy commerce across the full aftermarket spectrum—
while adapting the experience for B2B, B2C, or hybrid workflows.
Automotive parts & accessories
Truck parts & accessories
Diesel performance
Powersports (motorcycles, ATVs, UTVs/SxS, snowmobiles, PWC)
Retail parts stores (local-to-online + repeat customers)
Manufacturers and aftermarket brands
Wholesale / dealer purchasing (B2B)
Hybrid B2B + B2C businesses
Platform Insights & Proven Results
See how our latest technology and industry data drive real-world growth.
Platform Overview FAQs
Everything you need to know about Web Shop Manager’s aftermarket eCommerce platform.
Yes. WSM is purpose-built for aftermarket businesses managing complex catalogs, vehicle fitment, kits and bundles, and operational integrations that generic eCommerce platforms struggle to support.
Headless means your storefront experience can evolve independently. Your team can iterate on UX, design, and SEO while keeping the core commerce engine, data logic, and integrations stable.
Yes. The platform supports B2B, B2C, and hybrid models, including account-based experiences, customer group pricing, repeat ordering, and long-term customer relationships.
Yes. WSM is API-first and designed to integrate with ERP, PIM, fulfillment, tax, payment, and other operational systems without forcing platform lock-in.
Yes. WSM supports standards-based catalog readiness and workflows aligned with ACES/PIES structures commonly used in the aftermarket.
Yes. The platform supports high-SKU catalogs and complex structures such as kits, bundles, and shared components driven by data logic—common requirements in automotive, truck, and powersports.
PartsLogic Smart Search is natively integrated into WSM, providing vehicle-aware, fitment-driven search designed to help customers find the correct parts quickly and accurately.
WSM reduces wrong orders by keeping vehicle context central to shopping (YMM) and using fitment-driven discovery (PartsLogic) so customers see compatible products sooner and with higher confidence.
Performance and SEO are foundational in WSM 6.0, with a headless architecture, fast storefront delivery, and structured data designed to support modern search engines, AI discovery, and Core Web Vitals goals.
Yes. A headless-ready architecture supports different storefront experiences (such as B2B vs B2C, brand sites, or regional sites) while keeping the core commerce engine and data logic consistent.
Yes. Migration planning typically includes a staged approach to validate catalog, fitment logic, and integrations before launch—reducing risk and avoiding surprises during cutover.
Getting started typically begins with a guided demo, followed by a sandbox or migration preview so your team can see catalog data, fitment flows, and integrations working inside WSM before committing to a full rollout.